THE CANNEY VALLEY
Creating a web development environment with VirtualBox
2 min to read

Web devlopment can get messy. With so many modules and tools, it's easy to bloat your operating system with applications and files that might conflict with each other.
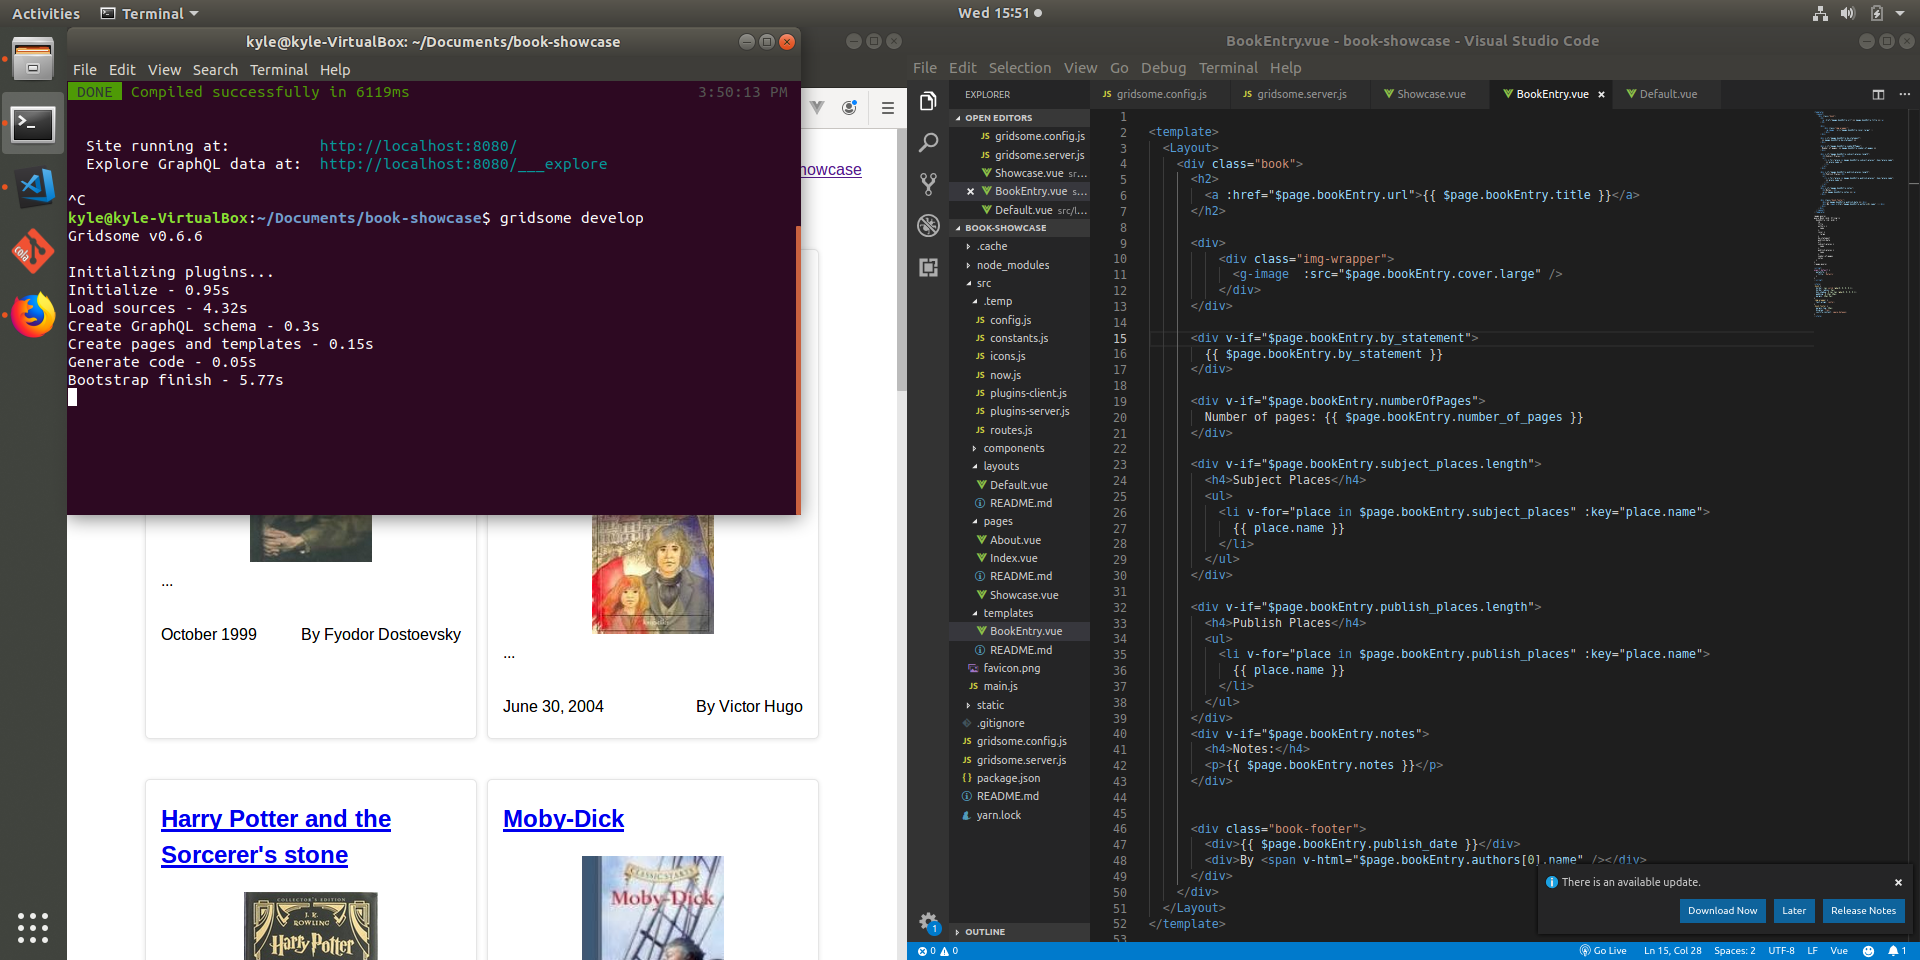
That's why you should use virtual machines. They isolate your development environments (tools, files, etc.) in containers that aren't directly embedded in your computer's operating system. They also allow you to run completely different operating systems without needing to boot to a different disk on your computer.
Let's take a look at setting up some virtual machines with VirtualBox, an open-source virtualization tool.
Assumptions
- You're running a Windows 10 PC. While all of this should work with other operating systems, the individual steps will vary.
Pre-requisites
This should be everything you need to get virtualization working on your PC.
Host machine
You'll need to download these at a minimum:
- Virtualization-enabled computer (Enable Virtualization in Your PC's BIOS)
- VirtualBox v6.0.8 (http://download.virtualbox.org/virtualbox/6.0.8/)
- VirtualBox v6.0.8 Guest Additions (http://download.virtualbox.org/virtualbox/6.0.8/)
- Ubuntu 18.04.2 LTS virtual disc image (https://ubuntu.com/download/desktop)
Virtual machine
All of these are optional based on your development needs, but I've included these because they're what I cover in this guide.
- Visual Studio Code
- Node.js (includes NPM)
- Git
- Git Kraken
- Updated FireFox
Setting up your development VM with VirtualBox
While the initial work involved is substantial, it's easy to build off of later on.
To set up your development VM
- Enable virtualization for your computer if it isn't already enabled.
- Download and install VirtualBox v6.0.8 (http://download.virtualbox.org/virtualbox/6.0.8/). Look for the "VirtualBox-6.0.8-130520-Win.exe" link.

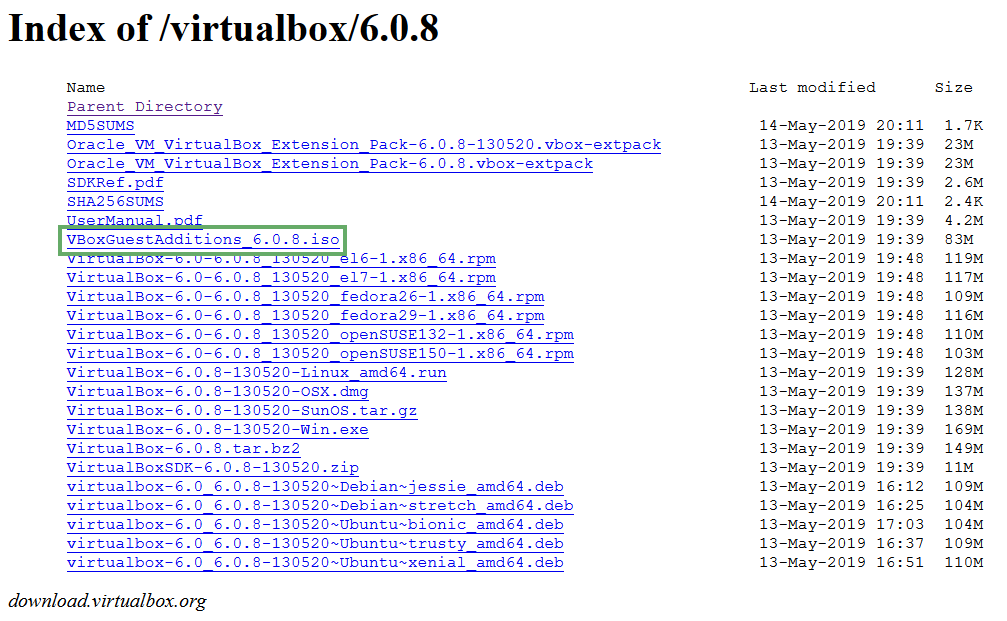
- Download VirtualBox Guest Additions v6.0.8 (http://download.virtualbox.org/virtualbox/6.0.8/). Look for the "VBoxGuestAdditions_6.0.8.iso" link.

- Download Ubuntu 18.04.2 virtual disk image (https://ubuntu.com/download/desktop).
- Create a base virtual machine in VirtualBox.
- Set up your base Ubuntu VM (article pending).
- Clone your base VM (article pending).
- Set up your cloned VM for your web development project (article pending).