THE CANNEY VALLEY
Creating a base Virtual Machine in VirtualBox
1 min to read
When I create VMs in VirtualBox, I differentiate them as bases and builds.
Bases serve as a stable VM configuration that you do not make changes to. Builds are clones of bases that you customize for specific tech stacks.
This article covers creating your initial base Ubuntu VM that includes the VirtualBox Guest Additions.
Note: These instructions apply to creating a Ubuntu 18.04.2 VM only. If you're using a different OS, adjust the steps as needed.
To create a base Ubuntu VM
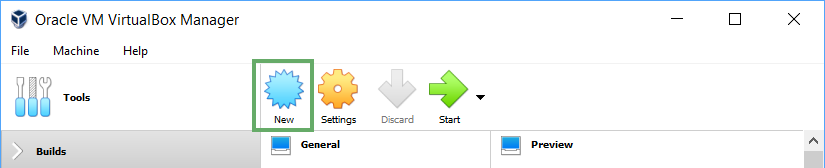
- From the VirtualBox Manager Tools bar, select New.
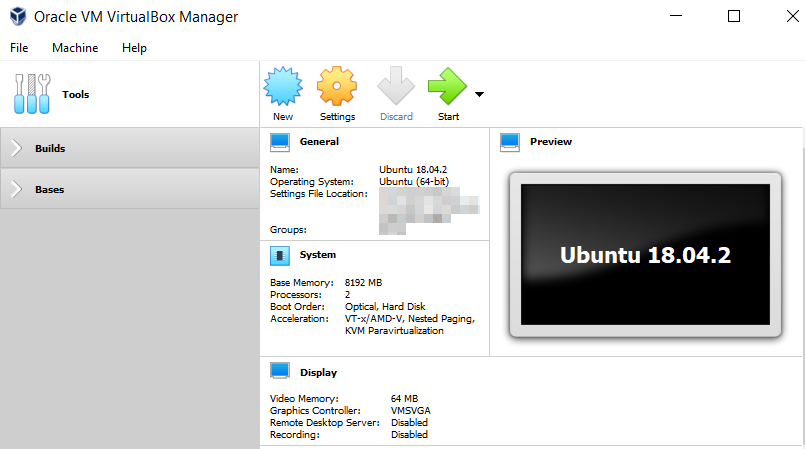
- Give the VM a name, often the OS name and version (e.g., Ubuntu v18.04.2).
- Change the Type to Linux.
- Change the Version to Ubuntu (64-bit), then select Next.

- On the "Memory size" window, select how much RAM you want to allocate to the machine while it's running, then select Next.
Note: Allocating more RAM will reduce the amount of RAM available to other applications on your computer, but increase the VM's performance.
- On the Hard disk window, select "Create a virtual hard disk now," then click Create.
- On the Hard disk file type window, use the initial selection (VDI), and click Next.
- On the next window, select Fixed size, then click Next.
- Give the virtual hard disk a name and select how much storage space to allocate to it, then click Create.
Note: For most projects, 10 - 20GB should be plenty of space. You cannot change this later.